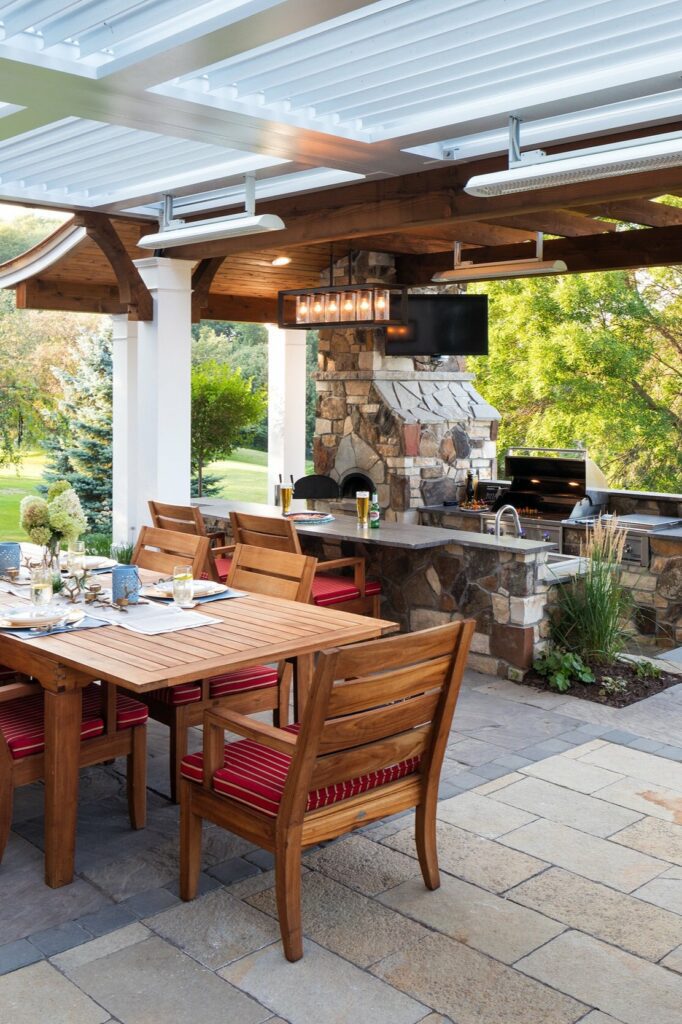

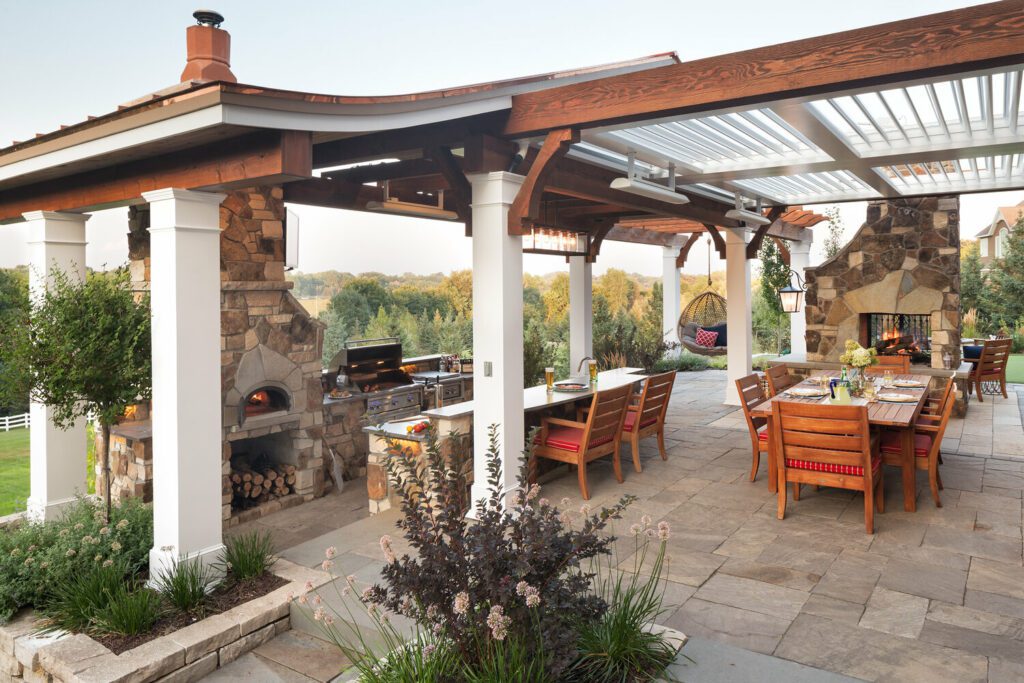
One of the most important and healthy things you can do for your home (to keep a long-lasting relationship with what keeps a home well) is winterizing your outdoor kitchen. And there may be a lot you’re not considering for the task at hand! That’s why we created this easy, step-by-step checklist for winterizing your kitchen (we may or may not have added some fun additional items in there for you to abide by).
Step 1. Check on that water line
This is one of the most vital steps in the process! In order to make sure the water in your pipes isn’t left there and freezes and expands – you need to blow that stuff out. Consider this the confetti of the winterizing party. All you have to do is connect to an air compressor with an adapter, connect to the waterline and create pressure to remove all the water from the system.
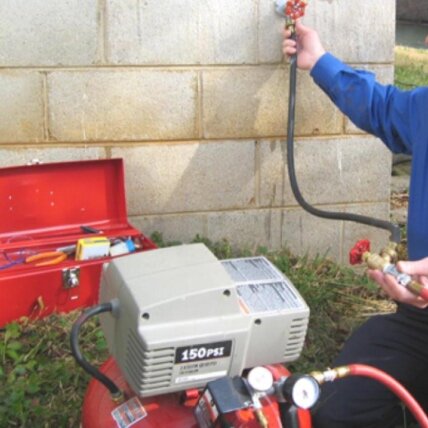
Quick Tip: Make sure you are using a regulated compressor set to 60 PSI. Unregulated pressure can cause some serious damage. If you’re feeling at a loss on all this, call up your plumber or an irrigation company.
Step 2. Disconnect the electric
The cold can short out outdoor electric lines, so it’s best to ensure you’re disconnected. Shutting it off will protect outdoor refrigerators, freezers and ice makers. If you’re able to see the power line, go ahead and unplug it directly from the unit. If you can’t find it, simply turn off the circuit breaker.
Quick Tip: Always double-check that all the appliances are turned off. Sometimes this stuff can get complicated and tedious!
Step 3. Clean, clean, clean
It’s time for some corrosion defense to take place (we know this step-by-step list deserves some wine after). However, you’re going to want to make sure all that pollen, dust and dirt is removed from outdoor services so the grime doesn’t compromise the beautiful aesthetic of your home. It’s all about upkeep! Clean stainless steel exteriors with a soft cloth and remove oil and dirt buildup with a neutral cleaner.
Quick Tip: We recommend using cleaners made by Bar Keepers Friend. And always “go with the grain” when scrubbing to prevent from scratching!

Step 4. Take care of the grill.
Your grill needs a deep clean since you’ve been using it all summer long. Start with a degreaser and top it off with stainless steel polish. Metal brushes are great to clean out divots that are hard to reach. A quick tip: don’t neglect the cooking grates. Those should be pulled out and thoroughly cleaned as well. Once you slot those back on the grill when you’re done, heat it to 500 degrees and cook for 20 minutes. It’s not as good as a fresh steak, but worth the diligence for next year’s summer meal. Oh, and be sure to turn off the gas line!
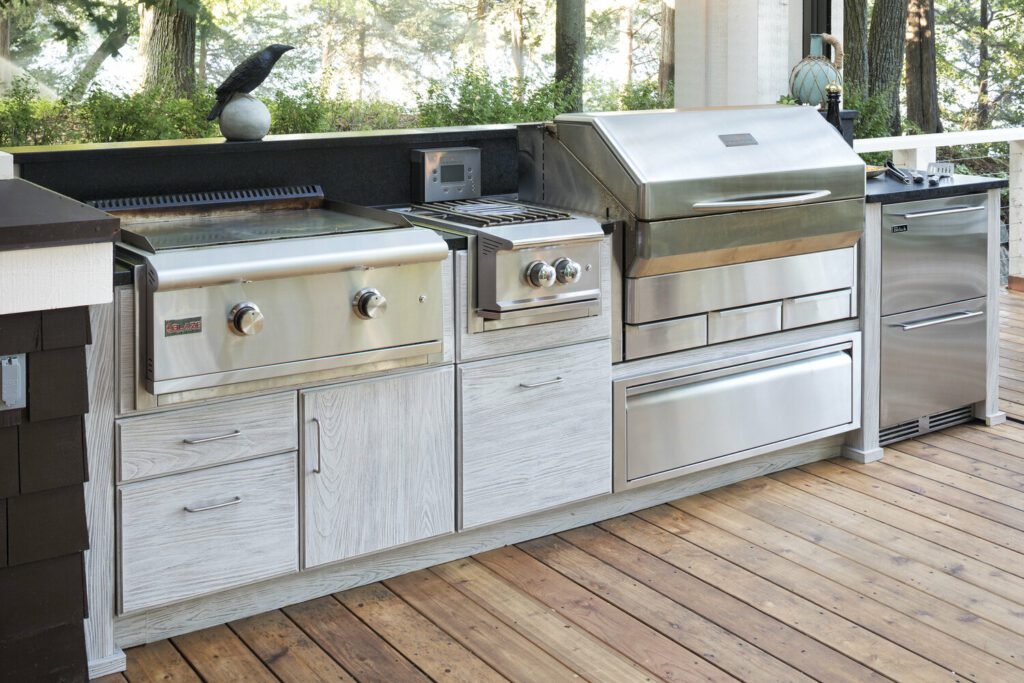
Step 5. Don’t forget about the cabinets
Different types of cabinets you have in your kitchen will need different types of winterizing attention. Stainless steel cabinets will need a fresh layer of stainless steel polish. Wood cabinets should be waxed and sealed to protect during the colder months.
So, now that you have that outdoor kitchen all clean, it’s time for some wine. And slippers. And a heavy blanket. And the crackling of a fireplace. It’s winter now, but summer will come back soon enough.